 I have been thinking a lot about how to keep an urban chicken coop area tidy, clean and relatively free of flies. I say relatively because during the warm months of the year, it seems that flies will hastily congregate on anything remotely edible, whether it be slightly cooled dinner just off the grill, a pile of animal poo, a plate of freshly sliced fruit, or a dead body. That said, I am taking on the challenge of trying to keep the fly quota low, and my coop fresher than most.
The first task was clear: Find a new home for duck. Duck was of the black Muscovy variety. This made him large, homely and a mass waste producer. Seriously, the guy pumped out about a third of a pound of manure daily. This was a great thing for my garden, as I had loads of freshly dirtied (*ironic*) straw to mulch with, and it washed down and fertilized the plants with each watering. Even so, I just did not have it in me to clean out a duck house every other day, as well as the tasks of cleaning the duck dipping tub that he dirtied every hour or so, and washing away the piles that ended up all over the duck/chicken yard each day. No amount of his excellent foraging for slugs and garden pests, and generous fertilizer production seemed to balance out the ridiculous duties associated with mothering a duck. Additionally, to make things worse, he wasn't even nice. He continually nipped us with his sharp bill and bullied the hens. Henry duck went to a lady named Kathy who answered my craigslist ad. She took him as a pet to live in a pond full of ducks and geese on her one and a half acres of rural property. I think that worked out well! I hope he is happier now. I hardly miss him, though I know my sons do, so I do feel a little bit bad.

Step two toward fly elimination and general tidyness was to do something about the kitchen scraps that I feed to the hens. Most people "throw them to the chickens", and that is how I began feeding them,but this does not suit me, because then there are always a bunch of stems and random old food parts rotting on the ground, which looks awful and draws...yes, flies, you know it. My solution was two-fold. First I went and bought an inexpensive oil pan (for car oil changes) to use as a place to dump the kitchen scraps. It is wide and low, and good for them to peck in and sort the food. It can be seen in use in the above pic.
Next I figured out what to do with the scraps that they declined to eat, because they definitely don't eat everything that I give to them. I tossed around the idea of a compost pile, but I really don't like to or manage to find time to turn it and tend it, and I don't like the fact that mice and rats inevitably get into the pile, as well as raccoon and other wild animals. Again, flies are attracted to compost and it takes forever for the foods to break down. I decided to have another go at vermicomposting. I tried it once before, when I lived in Colorado, and had a larger scale bin. I ended up accidentally cooking the worms, because the bin was black, which attracted too much sun, and it was placed in a sunny location.
Also, I wasn't consistent about opening it for ventilation during the hottest parts of the day. The poor worms crawled up to the top and tried to escape, and most died. This particular worm project of mine can be found on a historical blog here (you have to scroll down a bit).
Having learned from this, I decided to do it simply. I went to my favorite used-anything-you-could-possibly-think-of store, Bring Recycling and found an ugly, old cooler to transform into an easy worm bin pictured here (also pictured in the chicken yard above).
 The reason why the cooler works well, is because it is insulated, so it doesn't let much heat or cold from the outer environment in. Also, it has a nice fitting lid. I like that it is a good size, and rather portable. I suspect that I may need a second one for the amount of kitchen scraps that my large family produces, but I'd rather have two movable ones than one monster bin that is permanently wherever it is placed. I know I will not live in this place for more than a few years, maximum, so movable is good.
Here is what I did to turn it into a worm home and compost factory:
1)I drilled holes through the bottom for drainage.

2)We tore up newspaper and brown paper sacks, and soaked the strips in bucket of water.
 This is a very satisfying job for me. I love the feeling and the sound - riiiiip, riiiip, riiiip, in a nice rhythm, as I do one piece after another. Reya seemed to enjoy it too. How often is she allowed to just rip up a bunch of paper?
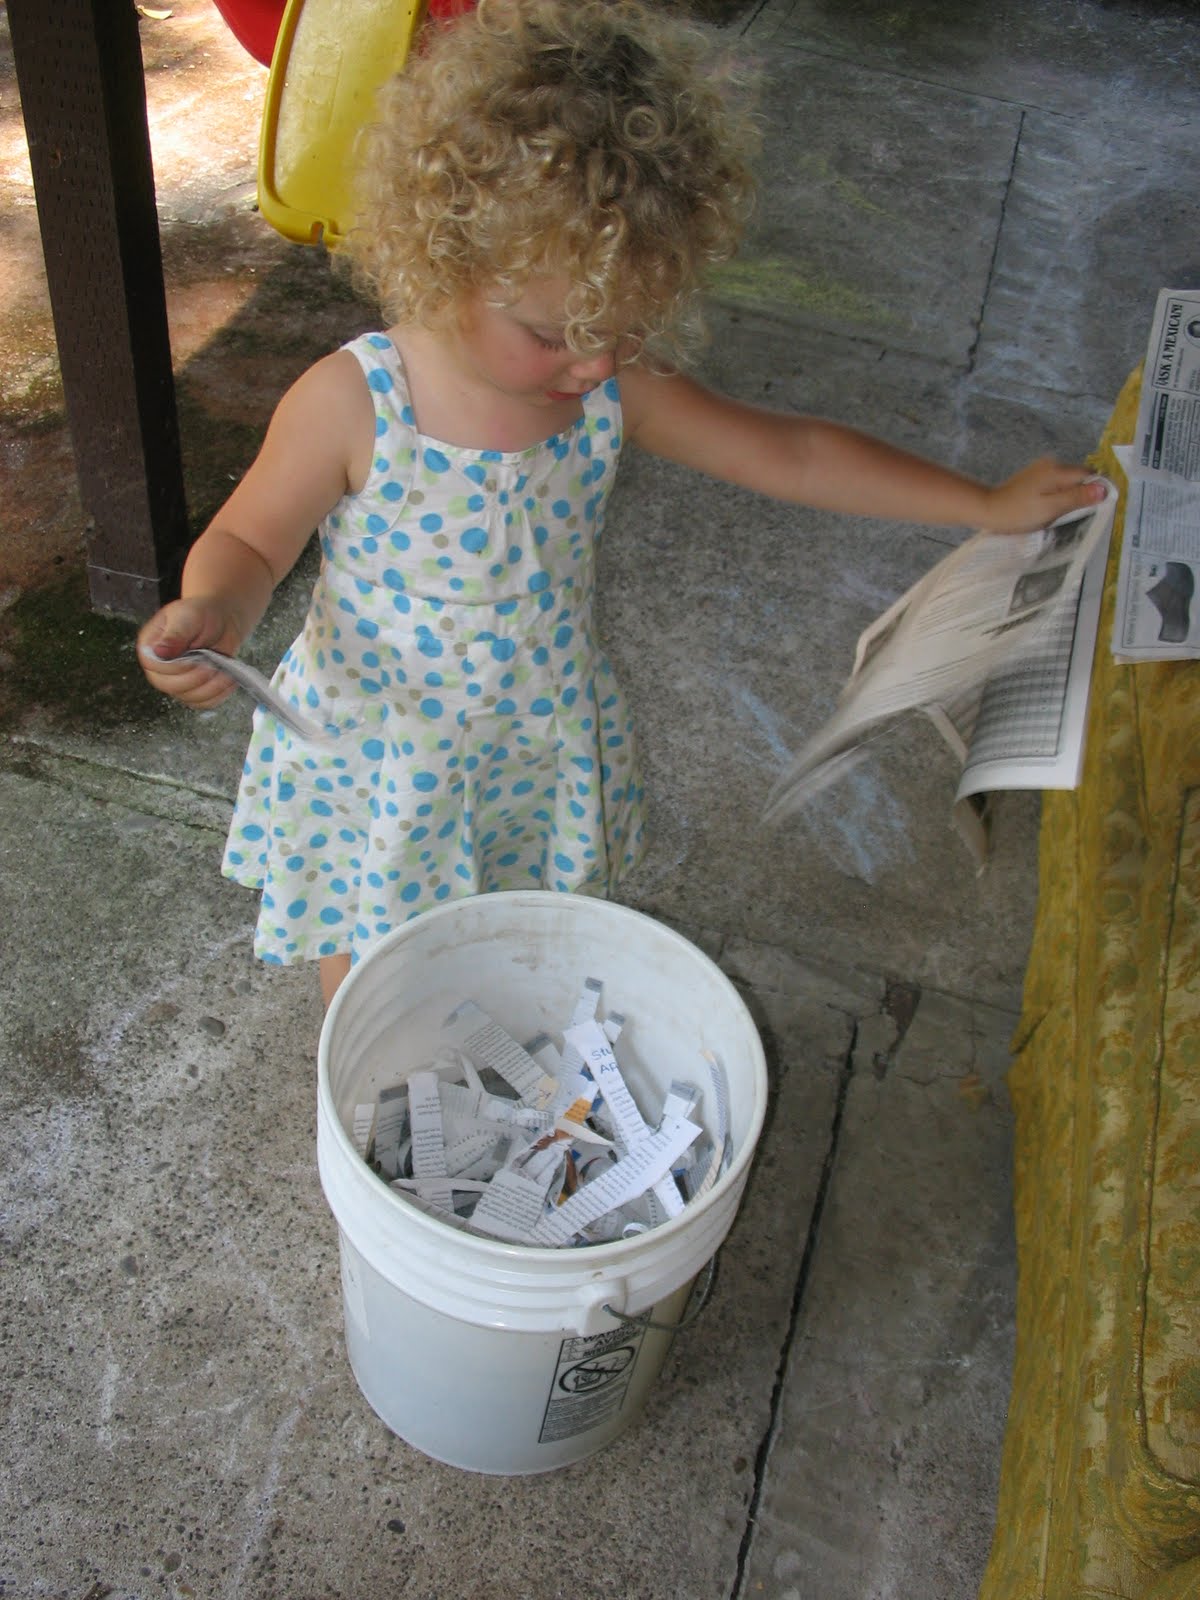
She actually ended up in a power struggle that ended in a long, screaming time-out because she wanted to rip a different bag that didn't need ripping, not the one I told her she could do. That's how it is with that girl. Rarely a satisfied or grateful moment.
I was fairly surprised that Galen had zero interest in ripping, and found interest instead, in the neighbor's rain boot the whole time. Babies. Go figure.

An irrevelent note- We did this job sitting on a gold couch that my upstairs neighbor has sitting on the shared patio. I haven't had the courage to mention to her that upholstered furniture outside of the home is one of my pet peeves. I did mention off hand that I was concerned it might mold, hoping that would be enough. It wasn't. I think it is trashy looking. To her credit, it is kind of comfortable. We'll see how it holds up in Oregon's rainy winter. It is under a roof area.
3)The wet paper strips got wrung out and were put into the bottom of the cooler.

4)Then, a bucket full of red wigglers were added.
 They can be mail ordered or purchased from some local worm farms, but I actually found mine for free on craigslist, from a nice man just a few miles down the road.
5)The final step, not shown here, is burying the food scraps in the bin. The worms then eat the bacteria that occurs from the food breaking down. They eliminate in the form of rich worm castings, which is even better fertilizer than poultry manure. Now I have the best of both worlds.
The one thing that I would do different, and I still plan to, actually, is to drill some sizeable holes in the sides for ventilation. It turns out that enough heat is created inside the bin from the food breaking down and all of that bioactivity, that is still getting too hot in there, without any outside temperatures affecting it. I keep having to leave it open during the day to cool it down, or else my worms still crawl to the top to get out of the heat. I think the air holes will solve this, but we will see. I don't like leaving it open because.... flies, you guessed it.


1 comment:
I was excited to hear about your worms because Cedar is going to get her own bin of worms and we are going to keep them under our kitchen sink in the cupboard. My hope is that this will fulfill some of her HUGE desire to nurture any little living thing. And maybe I'll get some good compost out of the deal for my hungry garden.
Post a Comment